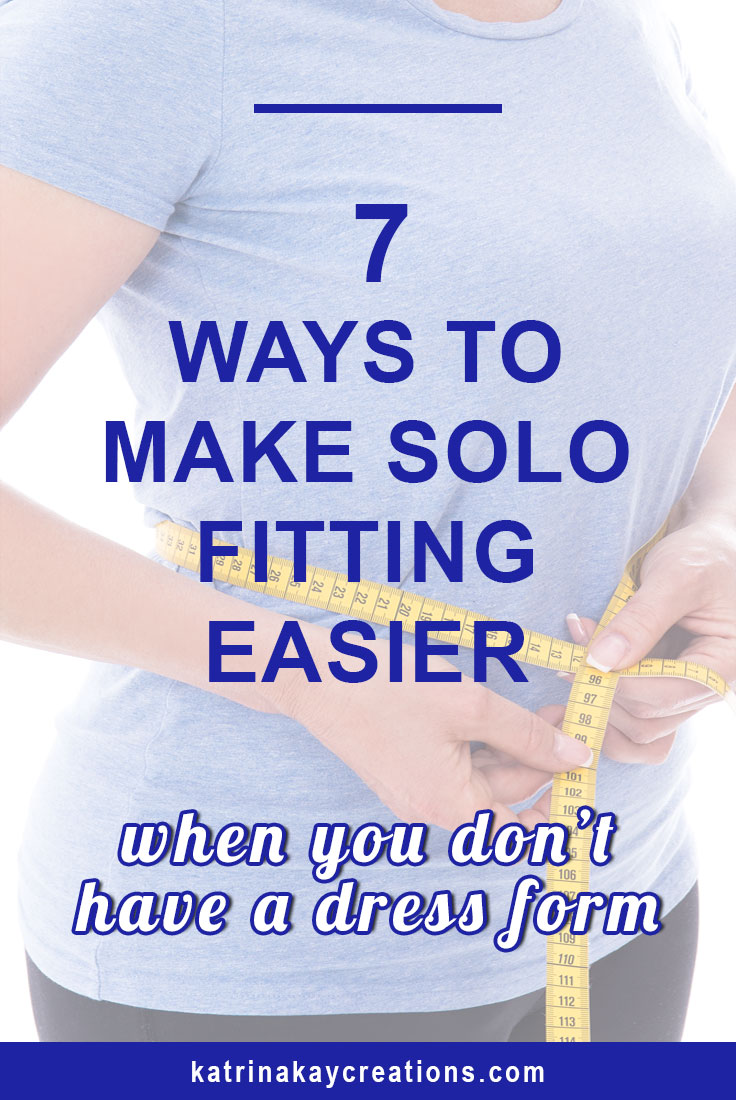
 One of my readers asked this question: “How can I fit my clothes without a dress form?” A good question, without a perfect answer. But today I hope I can help you a little bit by giving you 7 ways to make solo fitting easier.
Does anyone else have the problem of fitting patterns solo? By solo I mean: You live alone and don’t have friends who can help you or you would be comfortable with helping you. Even creating your own dress form requires a partner to wrap you in duct tape and that partner needs to be someone you’re comfortable with and someone who can take instruction well. So, it’s just you in your muslin standing in front of the mirror with a very limited view of your back. Or trying to reach places that you’ll never reach because your arms weren’t designed to bend that way.
Here are 7 things I do when solo fitting.
1. Put the opening in the front.
For tops with openings in the back, put the opening in the front for muslin fitting. Putting your opening in the front, (for fitting purposes only), allows you to pin it closed without any assistance when trying on your garment. Mark the stitching line in the opening with a machine basting stitch so you’ll know exactly where it needs to be pinned. When fitting your own body, these little things help.
2. Make the seam allowance for the opening 1″ wide.
Again, this is only to fit your muslin, not for the final garment and this works great with step 1 above. It’s much easier to overlap and pin closed a 1” seam allowance than a 5/8” or smaller seam allowance.
3. Mark fitting/style lines on the right side of your muslin.
Mark your bust, waist and hip line and any necessary style lines with a tracing wheel and tracing paper, or the marking tool of your choice. (Hopefully you have these lines already drawn on your pattern. If not, mark your pattern before you cut out your muslin).
Be sure to mark on the right side of your muslin so you can see your markings when you try on your garment. That way, you can tell at a glance whether these lines are in the right location on your body. If they need to be changed, you can mark the right placement on your muslin and easily measure the distance between the two.
If you fit your muslin by turning it inside out, then you can mark it on the wrong side so you can see the markings.
Not sure which side you’re going to fit your muslin on? Mark both sides. Then whatever you decide, you’ll be able to see the markings you need.
4. Use more than one mirror.
Use a hand held mirror and stand with your back to a bathroom mirror to get a close-up view of how your back, neck and shoulders fit . Try to keep the arm attached to the hand holding the mirror as close to your body as possible to get an accurate view of how your neck and shoulders fit.
Use a hand held mirror and full length mirror to get a full back view of your garment.
5. Put in the zipper.
For garments that require zipper closures, put them in your muslin. It doesn’t have to be a perfect application. And the application doesn’t have to be the same required by your pattern. You can just quickly machine baste down each side of your zipper without worrying about how neat the stitching is. Remember, this is for fitting purposes only.
This works very well on skirts because their opening is usually on the side or in the back and pinning it closed isn’t easy. I’ve stuck myself with pins many times trying to do this.
Use a basting stitch so it’s easy to take the zipper out of your muslin after fitting. Once the fit of your muslin has been perfected to your liking, you can reuse your zipper for future muslins or put it in your final garment.
6. Eliminate hem allowances on your muslin.
This applies to skirt, dress, pants and sleeve hems. Mark you hemline on your muslin fabric and cut on that line. Your muslin will end at the finished length and you can save the extra step of turning, pressing and stitching in your hem, while still knowing if your garment is too short, too long or exactly where you want it.
7. Keep a record of all changes made to your pattern and muslin.
You never know when you’re going to have to refer to the previous changes you made to your muslin, especially if a length of time passes between fittings. We all have busy lives and sometimes we just don’t have the time to work on or get back to a project right away. With a written record of your muslin/pattern changes, you’ll easily be able to pick up where you left off.
This is really good for when you have multiple muslins and patterns for the same garment. You’ll know which is the final pattern or muslin and you can get rid of the rest.
Do you have a way that you make your solo fitting easier? Share it in the comments.


Katrina,
I love the way you speak slowly and clearly. Your voice is calming, you explain directions very well. I’ve been sewing for 60+ years and finally know how to adjust the “gaping neckline” problem. Thank you so much. You’re a fantastic instructor. Amazing voice.
Hi Katrina,
I’m so glad I happened upon your website. It’s so informative. I have been looking at through the “Pattern Master” website, trying to figure out how their programs work, and the costs, and how beneficial it would be to me, as a fairly new sewer. Unfortunately, they don’t explain the whole workings of their program very well, at all. They honestly need a website developer who is better at their job. They have a few diagrams and a few words and frankly I left it disappointed and was looking for something better. You, on the other hand, should be paid for your promotions! They should pay you to help sell their product, because they really need your help. You show us the workings of, and explain the benefits of, their program the way they could and should. Bravo Girl! You rock! I understand it so much better. I think the cost of Pattern Master just might be worth it, if it can do what you say. Sounds excellent and so much better than I imagined! Thanks so much, I appreciate all you do!
Sincerely, Elizabeth W. / Canada
Thank you for your comment, Elizabeth. I still use Pattern Master, although I do need to upgrade to their current version. I’m about 2 versions behind. Don’t expect miracles, as far as fitting is concerned. You will probably still have to do alterations. But as someone who has worked in the fashion & sewing industries on very expensive patternmaking software, Pattern Master a fraction of what they cost. Let me know if you have any questions about the software.
Wonderful tips, thank you.
I currently mark my guide lines on the right like you do, and I take photos on timer and selfie at the level of the garment. Front, back, left side, right side and a short video to see it in motion. VERY helpful for fittings.
Angie
That’s a really great idea, Angie. I’ll have to do photos and a motion video for my future fittings. Thank you for sharing.
Thank you for this timely information. I’m just learning the aspects of fitting and the muslin is a big help for me to first, make sure I’m sewing the garment correctly, and secondly, to make sure it fits. This information helps in learning how to be creative in fitting solo. Thanks again!
You’re welcome, Lillian. Yes, it’s so worth taking the time to make a muslin. It really does help a lot, especially with fitting and/or sewing problems you don’t expect, like you said. I’m glad this information was a help to you.
For serveral reasons solo fitting is a big issue for me. And this is exactly what I was looking for. Thank you Katrina!
You’re welcome, Nicole. I’m glad it was a help to you.
I was having trouble with the back waist. Poor hubby was no help. So I put a pin on the back center waist and tried it on then felt for the pin to see if it was in the right spot. Them I pinned the side waist and redrew the waist.
Sometimes you have to get creative when you’re fitting solo. Good way to make it work, LeAnn.
The easiest way to make adjustments to existing garments (trousers, skirts and even blouses) is to wear them inside out and simply put the pins where they are required. If e.g. the upper pins need to be removed in order to get out of the garment, simply put the pin in one layer, thus marking the spot where the two layers will to be joined later on.
Great tip, Liesbeth. Thanks for sharing.
Thank you for a great blog, just found it 🙂 A small fitting-tip from me: If you want to reduce width in a garment it’s easiest to turn the garment inside out before putting it on and start to test-pinch and put needles (or safety pins) to see where you want the new seam to end up.
Welcome Eva! Great fitting tip. Turning the garment inside out will definitely help with solo fitting. Thanks for sharing.
the best. why didn’t I think of that. makes sooo much sense and yet never heard it before. thanks
You’re welcome, Carol. Thanks for reading.
Hi, I’ve been sewing a long time, but I’m new to patternmaking. I’ve wanted to learn how to all my life it feels like. I think I’m in the right place finally.
My youngest son moved out this past week, though I’m sad to see him leave, I’m tickled to death to get my sewing room set up in his bedroom. I can’t wait to get started in earnest pattern making.
Welcome, Sonya! Having a sewing room and being able to set it up the way you want is so exciting. Congrats!
I’m so glad to hear that you want to learn patternmaking. I have 2 blog posts (the third is coming soon), on basic patternmaking. You can find lesson 1 here: https://katrinakaycreations.com/importance-darts-patternmaking-lesson-1/ and lesson 2 here: https://katrinakaycreations.com/combining-darts-patternmaking-lesson-2/.
I love patternmaking and after you look at the tutorials and practice on your own, I hope you will to.
Thanks for taking the time to comment and I’m glad to have you here!
I live alone and can’t stand more than a minute due to disability so to solve my
measuring problems I have a close fitting dress with minimum stretch in it.
I put this on and pinned any problem areas, I used safety pins so they’d a) stay in place
b) not hurt me as I took my dress off.
I then used this to make a pattern form from an old cotton sheet. Original dress is
sleeveless (it has a jacket) so I used the same idea this time with a cotton long sleeved
sweater.
Added the sweater to the dress and made another dress this time with sleeves from a sheet.
It’s not perfect but as I tend to make my own patterns it’s easy to adapt.
I look at styles I like, not all plus size :~) Then I sketch out (and no I’m not a great artist) how I
think it will look.
Then comes my secret (until now :~) tool. I bought an artist doll, the wooden beads on wire that are
moveable.
I padded it with sheep wool and toy stuffing to emulate my shape as much as possible then covered the lot in a soft to touch fabric.
I make a version of the sketch and try it on “Rosie” my model, it does give me an idea as to how the style
looks on curves.
Hope this is off help sorry for it’s length.
I like the way you adapted solo fitting to your needs , Lucy. It sounds like you’ve really mastered a method to make fitting work for you in the best way. The artisan doll is such a creative idea. I’m glad to see I’m not the only one to name my dress forms. Ha! It sounds like “Rosie” serves you well. Your comment is definitely helpful and there’s no need to apologize for the length. Thanks again for sharing your process.
I absolutely love your site. You have inspired me to get back to my love of sewing. Keep up your excellent work. Thank-you so much
I’m so glad you love the site LindaLaura. I’m happy, happy, happy to hear I’ve inspired you to get back to your love of sewing. Yay! And I hope you’re able to spend plenty of time sewing. Sometimes it’s like therapy, a way to take a break from the stresses of life. So, welcome back to sewing and thanks for taking the time to comment. I appreciate it.
Love your new site and all your tips tutorials you are so inspiring thank you for all your hard work
Aww, thanks so much, Michelle. I’m glad you like the site. Thanks for all of your support.
I just found your blog, and I LOVE it! I recently got re-married, and made my own gown, I used a camera on a tri-pod with the self timer to take pictures of the back and side view, made it much easier to see how things draped while standing in a normal position, not trying to crane my neck to see into the mirror.
Wow, Jo, you made your own wedding gown? Kudo to you!
The camera on a tripod is an excellent idea. I just checked my cell phone to see if it has a self-timer. Although I figured it does, sometimes finding these things can be challenging. But I found it right away. So, I’ll definitely be using this for my next solo fitting.
Congratulations on your nuptials and thank you so much for sharing.
Great idea. Got to remember this one.
Thanks again for reading, Leslie.
I take videos with my old camera and then as I am reviewing the video I can snip still pictures from the video with a free program called Snipping tool. I like have the still pictures too look at as I am drafting a new pattern on working on fitting something I am sewing.
That’s a great idea, Brenda. I also have a tool, called Snagit, that lets you take still pictures form video. I appreciate anything that makes solo fitting easier.
That is an awesome suggestion!! Thank you.
I can’t thank you enough for your site…I’m a beginner and want to sew my own bra’s and panties. I can never find any in the shops that will fit me. My sister is a seamstress and she does beautiful work. We live together, but her life is full and cannot help me. So I’m doing the research on how to make plus sizes for myself. Thank you again!!!!
You’re welcome, Leslie. Thank you for stopping by, reading and watching. I hope my blog will be a great help to you in your research and sewing.
Thanks so much for sharing…
You’re welcome, Juanita. Thanks for taking the time to read and comment.
These are great tips! I’ve got a Craft Gossip post scheduled for later this morning that links to your post:
http://sewing.craftgossip.com/tips-for-easier-solo-garment-fitting/2015/02/02/
–Anne
Thanks, Anne!
The opening in the front is the most important thing I learned in solo fitting, after MUCH frustration. I often make my muslin in a cheaper but still good material so I can wear it, so if the official opening is in the back, I will just put a seam in the center front, or cut a new front once the adjustments are made. My daughter and I both like this two-for-one system, even if it can only be worn around the house. But this does make writing every change even more important because the muslin doesn’t stay in the sewing room.
You get to wear your muslin? That’s good, Sarah, because usually my muslins need so many changes I end up discarding them. But for my patterns that I’ve used before and know they’re going to fit, I may just start doing that. Thanks for the tip.
THANKS “SEW MUCH” Katrina, I am bookmarking these to use on my trial garments! God bless you
You’re welcome, Dara. They really do help!