 Last year, I shared sewing tips on Facebook that I use on a regular basis in my sewing. Because they’re scattered throughout my Facebook page, I decided to put 10 of my favorite in one place so you could refer to them at any time, without having to scroll through Facebook. So here they are: 10 sewing tips from 2014.
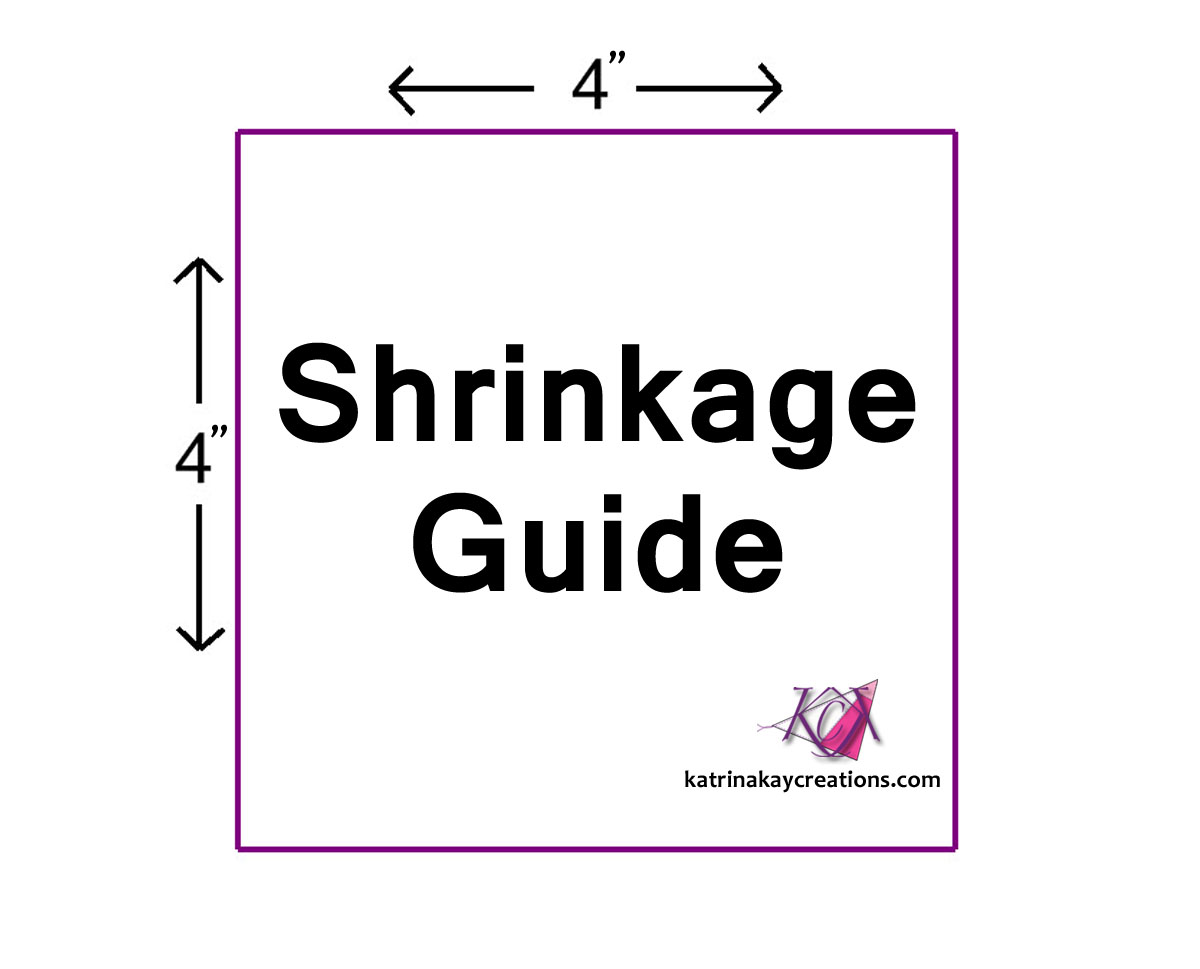
1. Test Your Fabric for Shrinkage
Not sure if your machine washable fabric needs to be preshrunk? On a piece of paper, create a 4″ x 4″ square and use it to cut a piece of your fabric.
Throw the fabric in the wash when you do your laundry of like colors. After it dries, place your piece of fabric on the 4″ x 4″ paper square.
If your fabric is the same size, then you don’t need to preshrink before you cut out your pattern. If your fabric is smaller than 4″ x 4″, then you DO need to preshrink it by giving it a wash and dry according to the care instructions.
 2. Take a Pic Before You Rip
When altering the hem of a lined skirt with a kick pleat, take a picture of each side of the pleat before making any changes and use it as a reference for putting it back together again.
3. Hang Before You Hem
When you make a skirt, pants or top out of chiffon, hang them before you hem them. Chiffon grows or stretches, so if you want to hem it only once, hang it up for 24 hours and then hem.

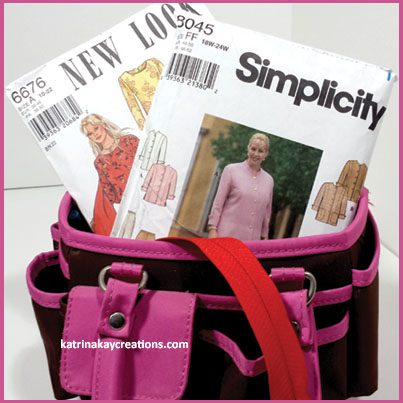
4. Buy According to Your Bust
For tops, dresses & jackets, buy a commercial pattern according your bust measurement. It’s much easier to adjust the waist & hip than the bust.
For skirts & pants, buy according to your hip measurement.
There are exceptions, but this is a good place to start.
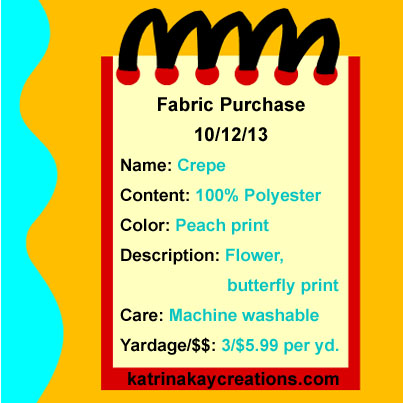
5. Record Your Stash
The next time you go to the fabric store, take a notebook to record the details. Or, use your smart phone to take a picture of the fabric, washing instructions and other details.
Later, glue or staple a swatch of fabric to the page in your note book, or use your smart phone photos to keep a digital or hard copy file. Then you’ll know exactly what you have in your fabric stash.
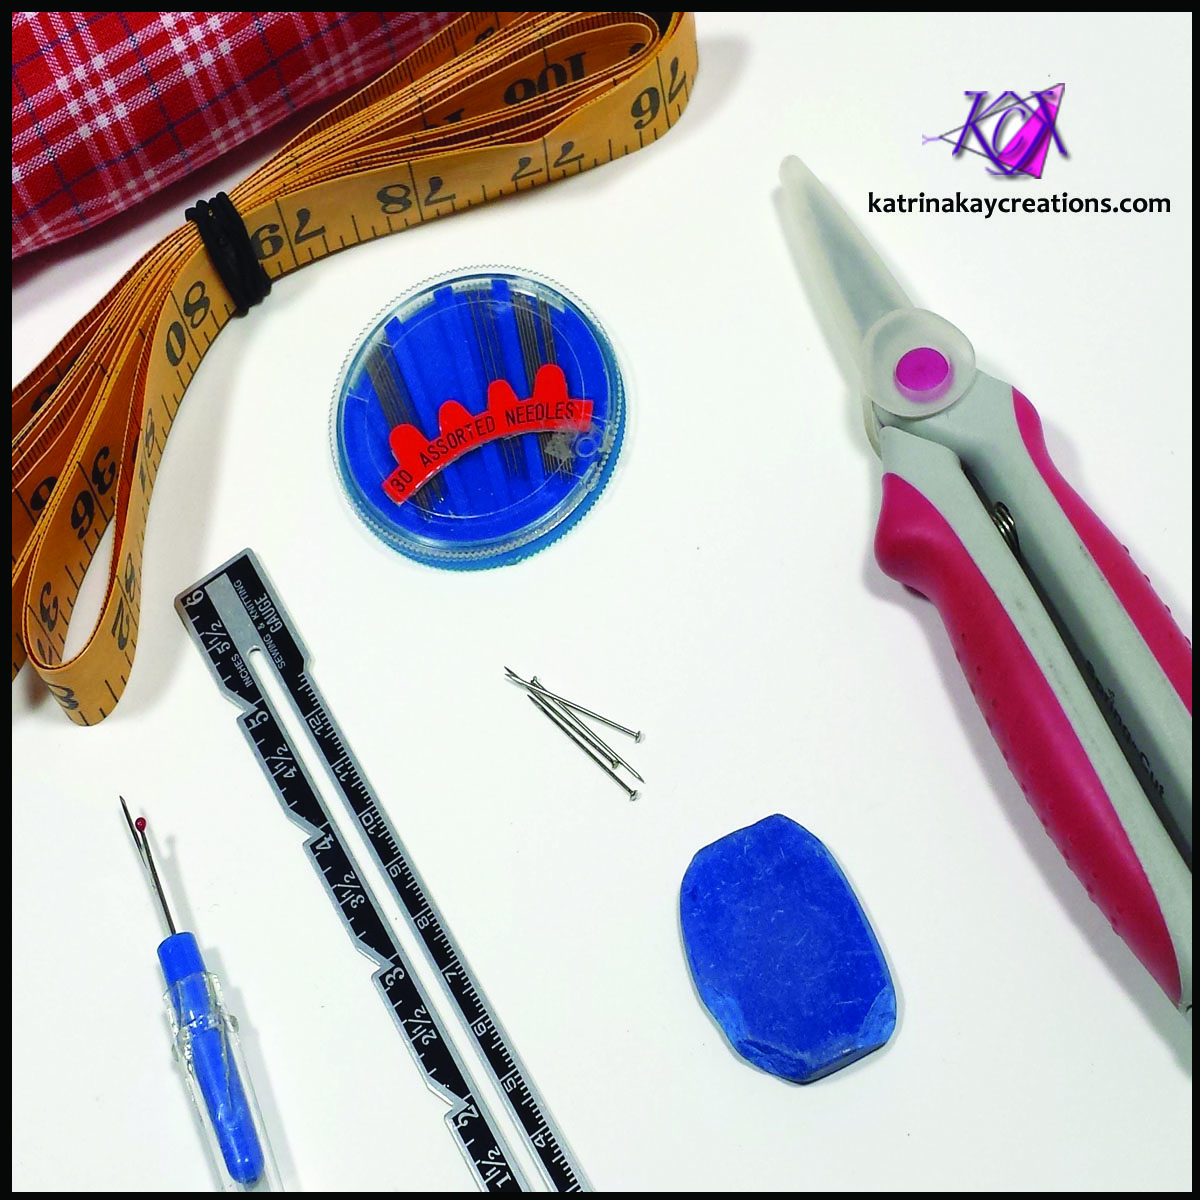
6. Clone Your Tools
Keep 2 sets of tools – 1 set at your sewing station and 1 set at your pressing/cutting station, (or 3 sets if your pressing and cutting station are separate). Then you’ll never have to stop what you’re doing to go across the room to get the seam ripper, etc.
Tools
- tape measure
- scissors/clippers
- straight pins
- hand sewing needles
- seam ripper
- sewing gauge
- marking chalk
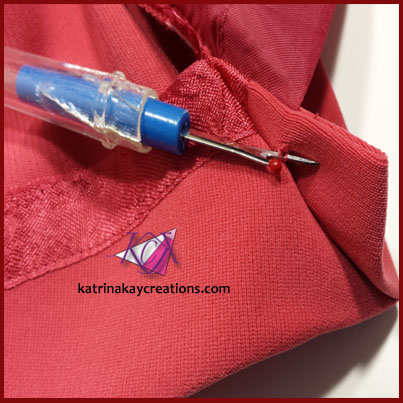
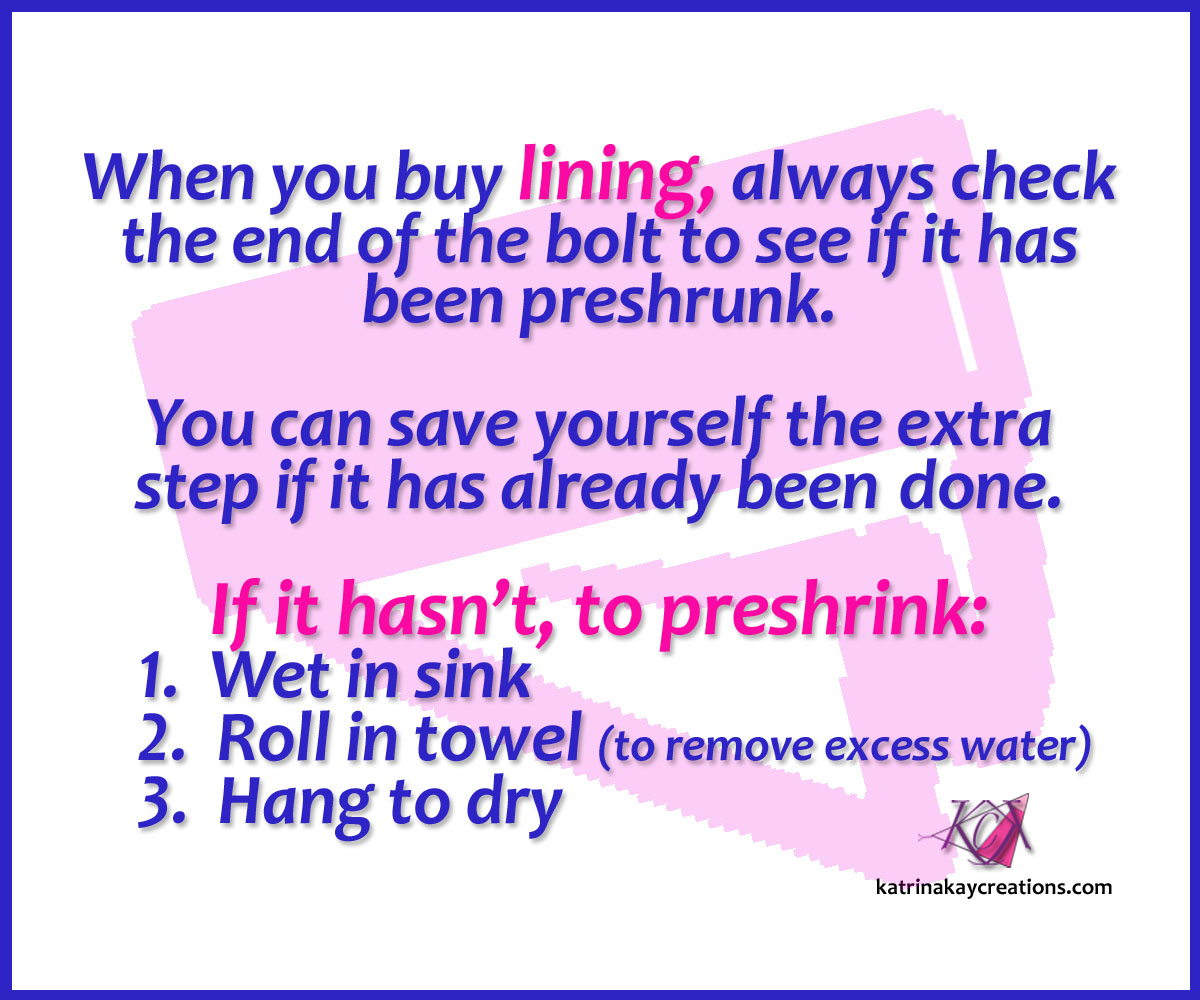
7. Preshrink Your Lining
Some linings are preshrunk by the manufacturer and usually say so on the end of the bolt. If the lining hasn’t been preshrunk, it’s very easy to do.
For silk or specialty linings that must be dry cleaned, it’s best to take them to the cleaners.
8. Say No to Hem Allowances on Your Muslin
Eliminate hem allowances when making a muslin. Then you’ll be able to see the finished length of your test garment without the extra step of hemming.

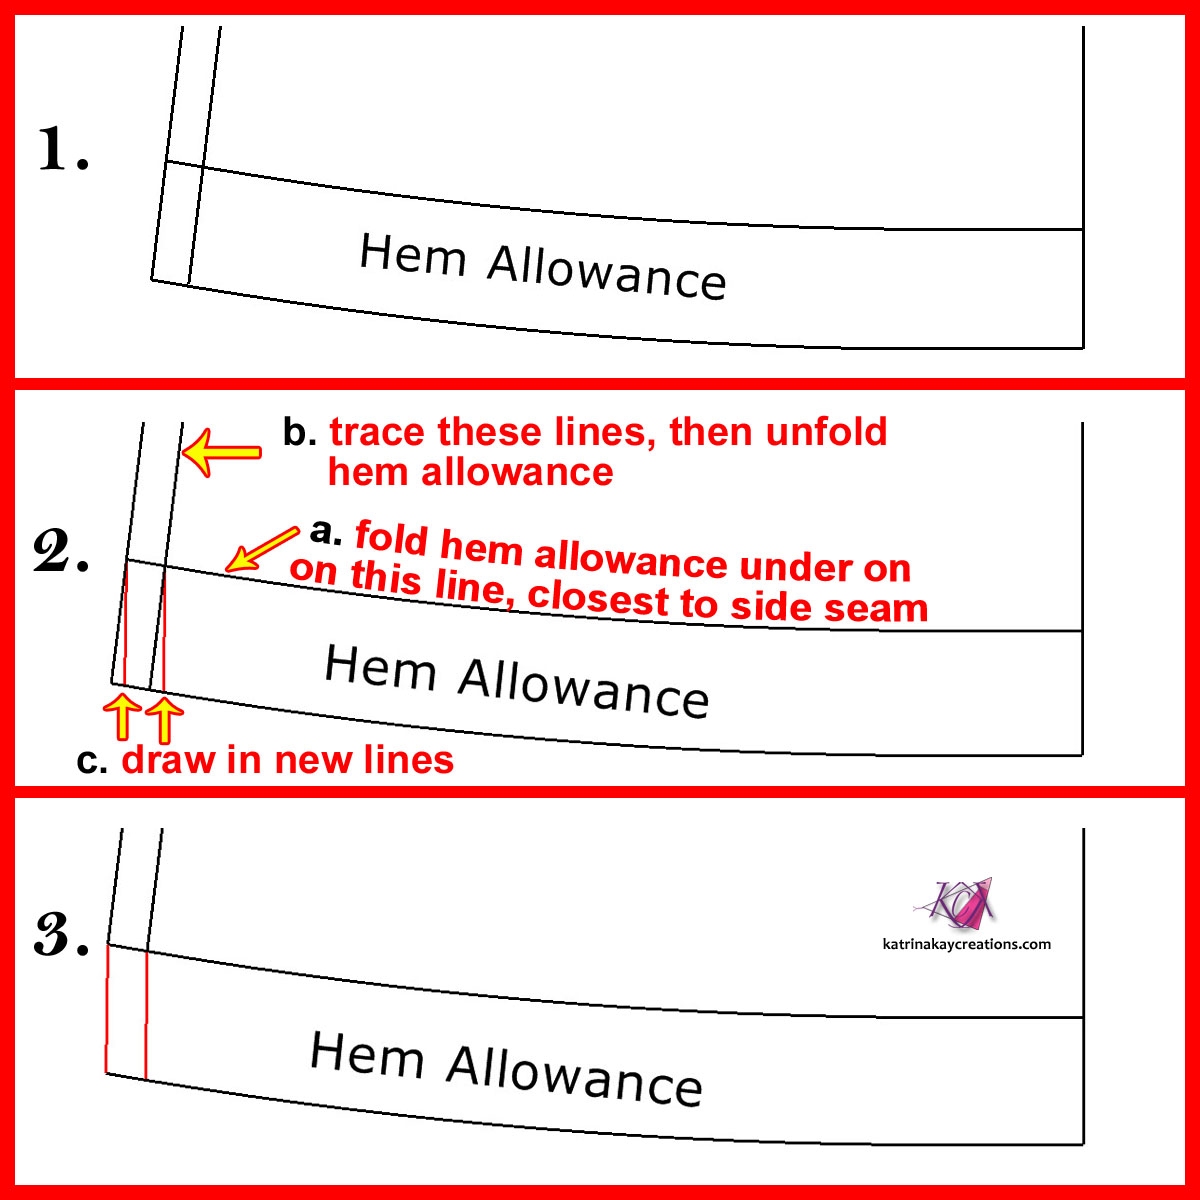
9. Mirror Your Hem Allowance
When doing a wide hem on a slightly curved hemline, remove some of the excess fullness from the hem allowance by mirroring the side seam lines.
10. Buttonhole Creation Guide
Have you ever needed to add a buttonhole to a pattern or something you bought? Sometimes they get skimpy on those buttons.
The extra 1/8″ is so the button will slide easily through the buttonhole without stretching or damaging it.

Do you have a favorite sewing tip? Share it in the comments below.
Thanks for the great tips. I will definitely be using them. Great share!
Stash builder to hoarder, hmmm, I think I’ve crossed that line too, lol. I’m glad you found some of these tips helpful, Sarah.
Great tips, #2 ‘pic before rip’ is new to me but I have been taking ‘documentary’ photos for more things every month, it’s just so helpful. #4 is good, but really works for me when the pattern is multi-sized because my back and front are in two different worlds! And recording my stash is my biggest downfall and where I cross the line from stash building to hoarder. Maybe this year…