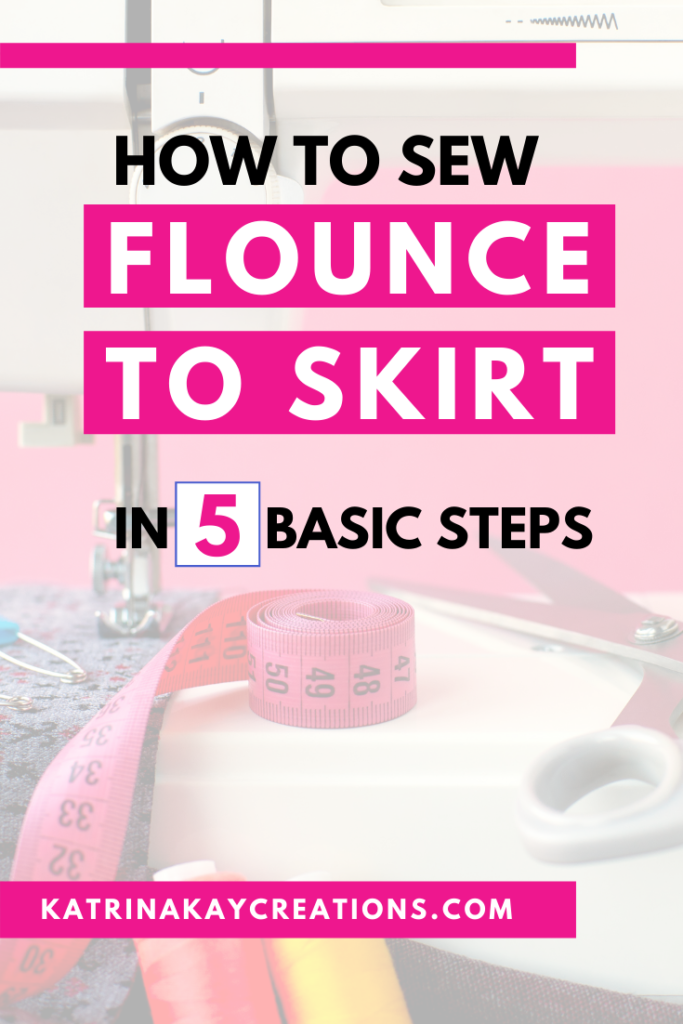
In today’s blog post I’m going to show you how to sew a flounce (with a center point) to a skirt.
And just in case you didn’t know, this is Part 5 of the sewing a skirt with a flounce series. If you haven’t seen Parts 1-4, you can find them below:
- How To Make A Flounce Pattern In 4 Simple Steps
- How To Sew A Skirt Muslin: Step-by-Step Guide
- How To Sew A Dart In 4 Easy Steps
- How To Sew A Narrow Hem In 5 Steps
Below are examples of how a flounce can be designed for skirts, including the one in this blog post & video ( left).
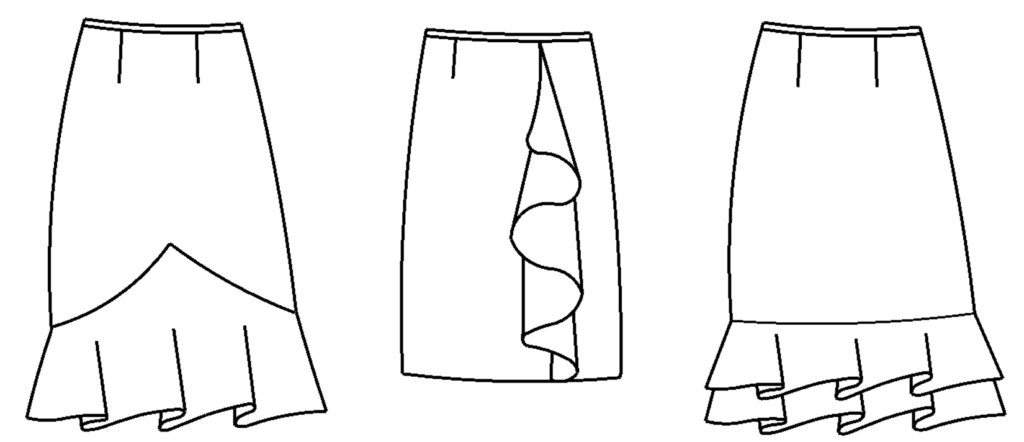
Also, you can use a flounce on other types of garments.
So, to see how to sew a flounce to a skirt & the point at the center front, keep reading or watch the video below.
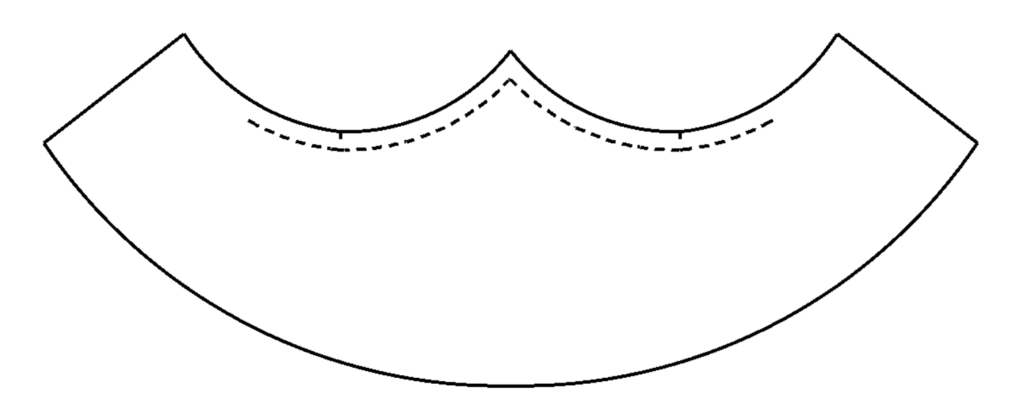
Step 1: Use A Machine Basting Stitch as a Guide
Because this flounce has a center point & a curved area around the center point, machine basting is necessary.
In the video, I didn’t start my basting stitch far enough in to the curve of the flounce. The image below shows you where to start your stitch.
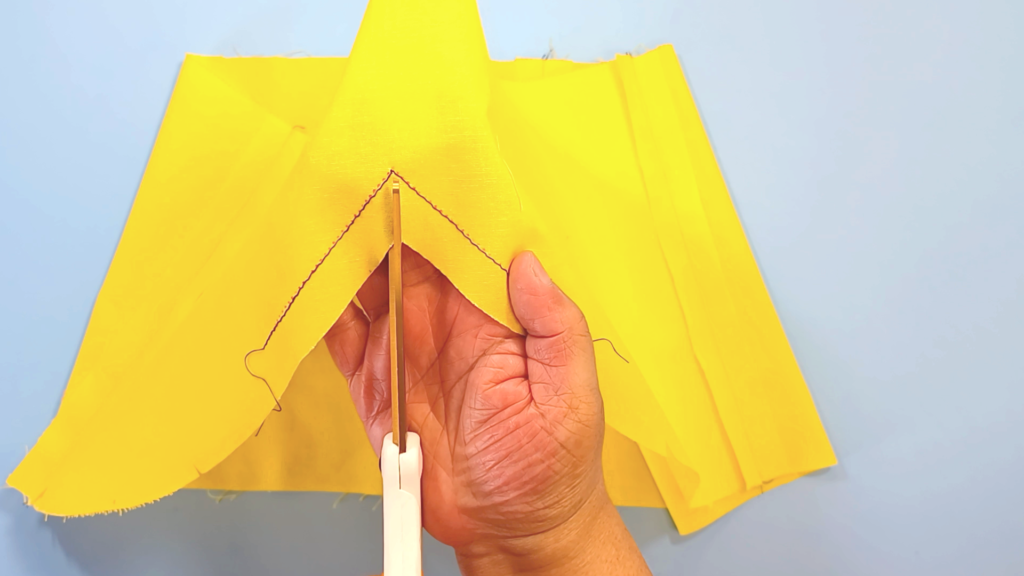
Then on the skirt, sew a second stitch in the center point area because we’ll be clipping to the point.
Be sure to clip the curved area only on your flounce because it’s not necessary to clip the curved area of your skirt.
The stitching will do 3 things:
- Be a guide when you’re sewing the flounce to the skirt
- Be a guide when clipping the curved area of the flounce
- Reinforce the point area on the skirt & the flounce
Then clip to the stitching around your skirt point only.
Step 2: Pin Flounce to Skirt
You need to sew the flounce to the skirt with the skirt side up, so make sure you pin it that way as well.
Pin the flounce to the skirt starting at the side seams.
Then pin the back of the flounce to the skirt.
And pin one side of the front flounce to the skirt, from side seam to center point. Ease the flounce onto the skirt as you’re pinning. Clipping in the curved area of your flounce should allow you to do this easily.

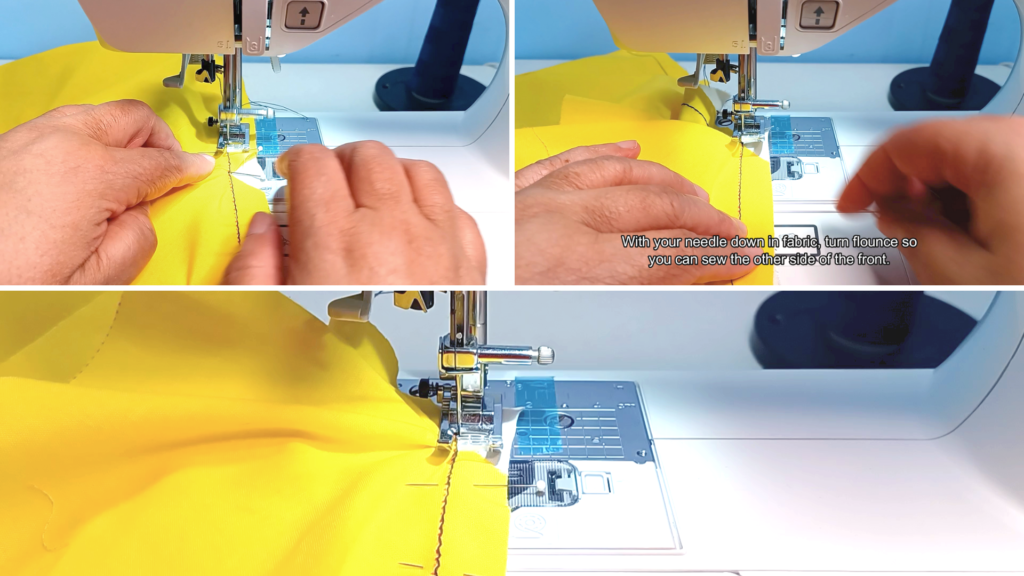
Step 3: Sew Flounce to Skirt: How to Successfully Sew a “V” or Point
Now sew the flounce in the same order you pinned it: start at the side seams, sew across the back & sew one side of the front to the center point.
Remember, you are no longer using a basting stitch.
When you get close to the point, raise & lower your machine needle by hand until the needle is down in your fabric at the center point.
With the needle still down in the fabric, raise the presser foot & turn the flounce so that you can now sew the other side.
Pin the other side of the flounce right on your sewing machine.
Then continue to sew.
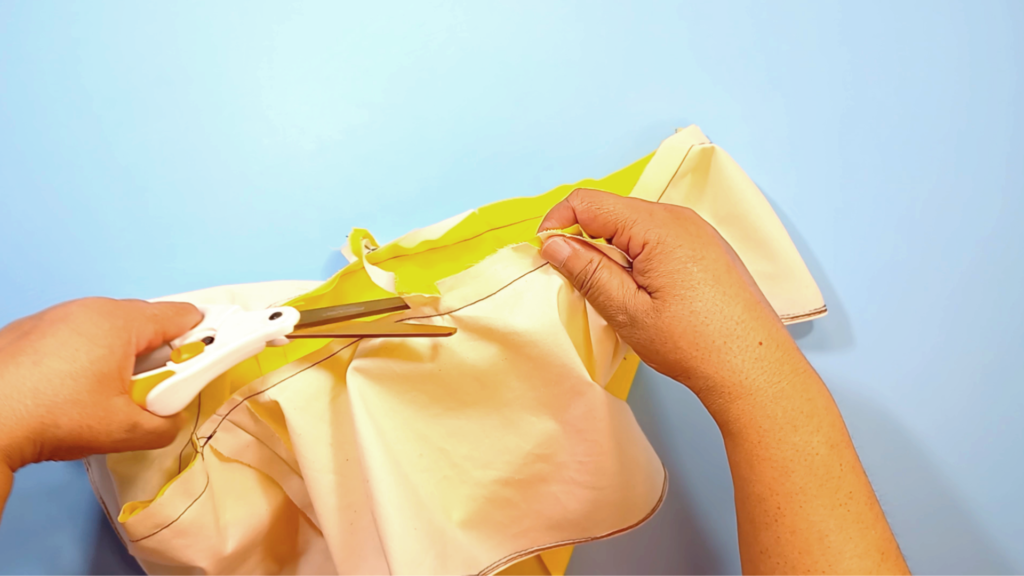
Step 4: Trim the Flounce Seam
Trim the flounce seam with your serger or with scissors & a sewing machine finish, like a zig zag stitch.
And remove any basting stitches showing on the right side of your skirt.
Be sure to check for any puckers so you can fix them before you press.
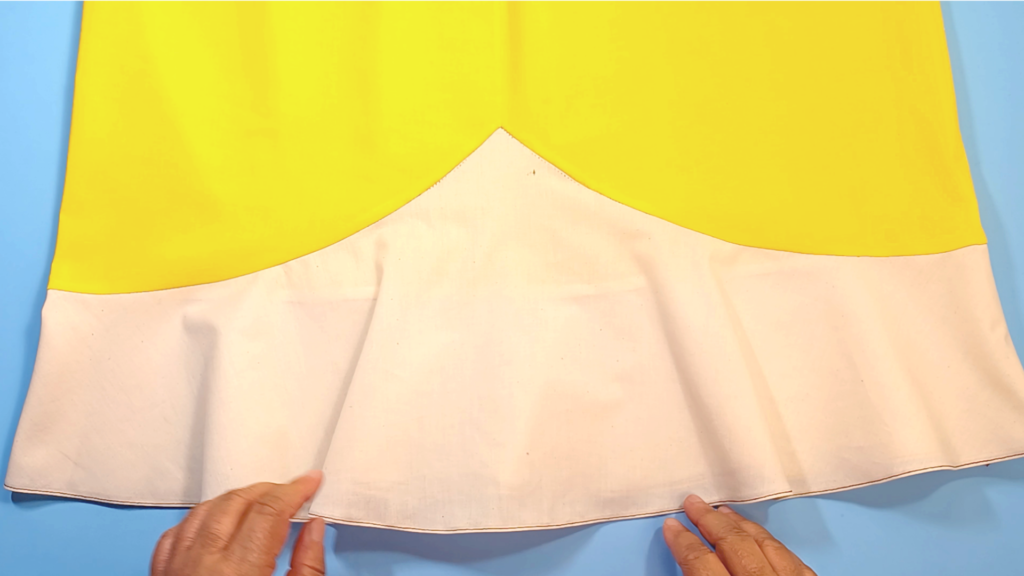
Step 5: Press the Flounce Seam
So, once your seam is trimmed, it’s time to press it toward your skirt.
Give It A Try
I hope you enjoyed this flounce series and will add a flounce to one of your future sewing projects.