In today’s blog post I’m going to show you how to sew a narrow hem.
But just in case you didn’t know, this is Part 4 of the sewing a skirt with a flounce series. If you haven’t seen the Parts 1-3, you can find them below:
- How To Make A Flounce Pattern In 4 Simple Steps
- How To Sew A Skirt Muslin: Step-by-Step Guide
- How To Sew A Dart In 4 Easy Steps
So, let’s get started with today’s post about sewing a narrow hem.
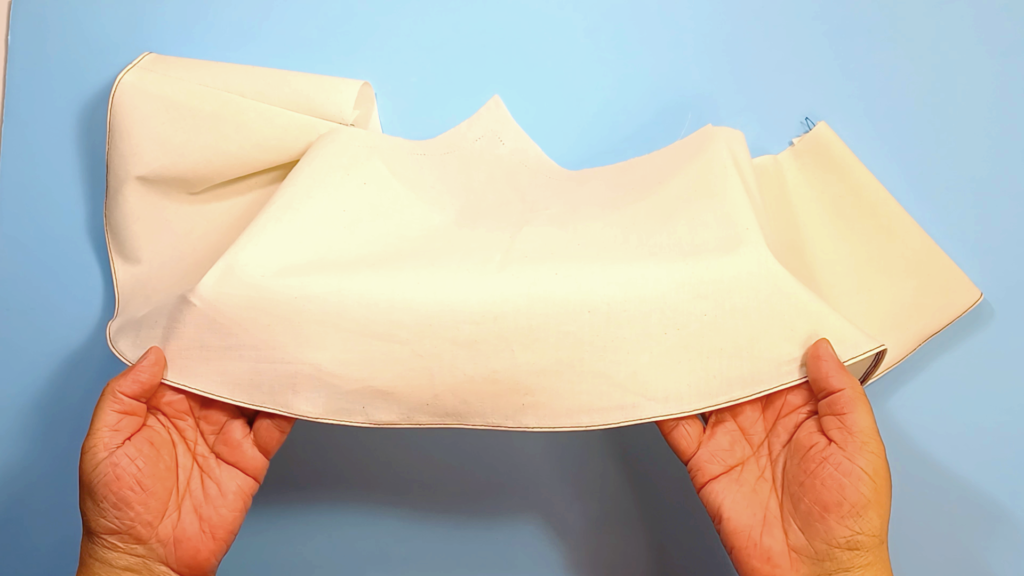
Because of it’s circular shape, the best hem for a flounce is a narrow hem. It gives the flounce a nice clean finish, on both the right & wrong side.
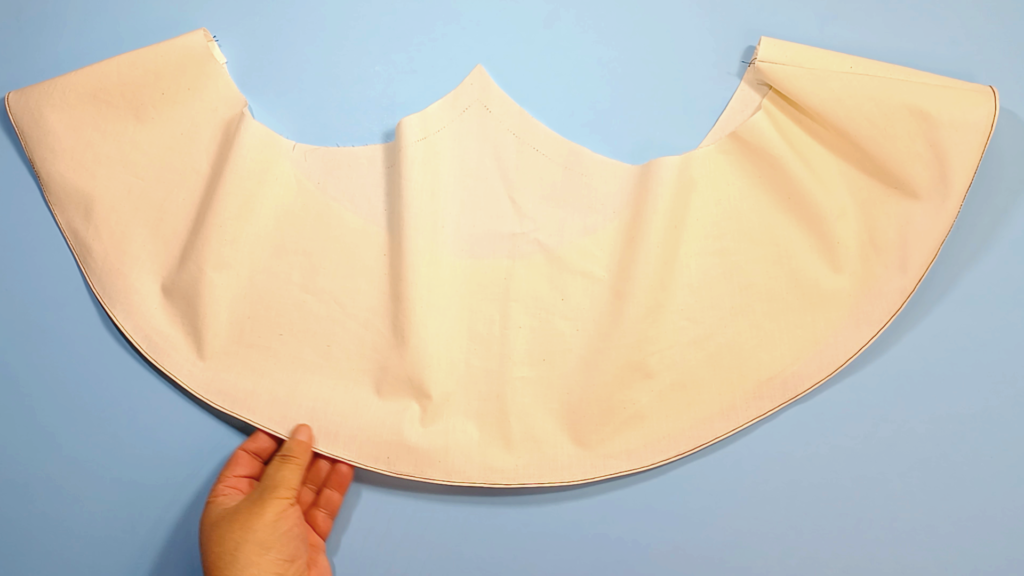
A narrow hem is usually 1/4″ or less in width.
In fact, manufacturers have industrial machines that do narrow hems & don’t have to go through the steps I’m about to show you.
The good news is, as a home sewist, you can get the same professional looking result in a few steps.
And you can sew a narrow hem without a narrow hem foot. In fact, I’ve found that the narrow hem foot works best on straight hems, no so much on a circular hem.
Keep in mind, narrow hems can be used on casual garments as well as dressier garments.
To see how to sew a narrow hem, keep reading or watch the video below.
Step 1: Sew A Basting Stitch Guide
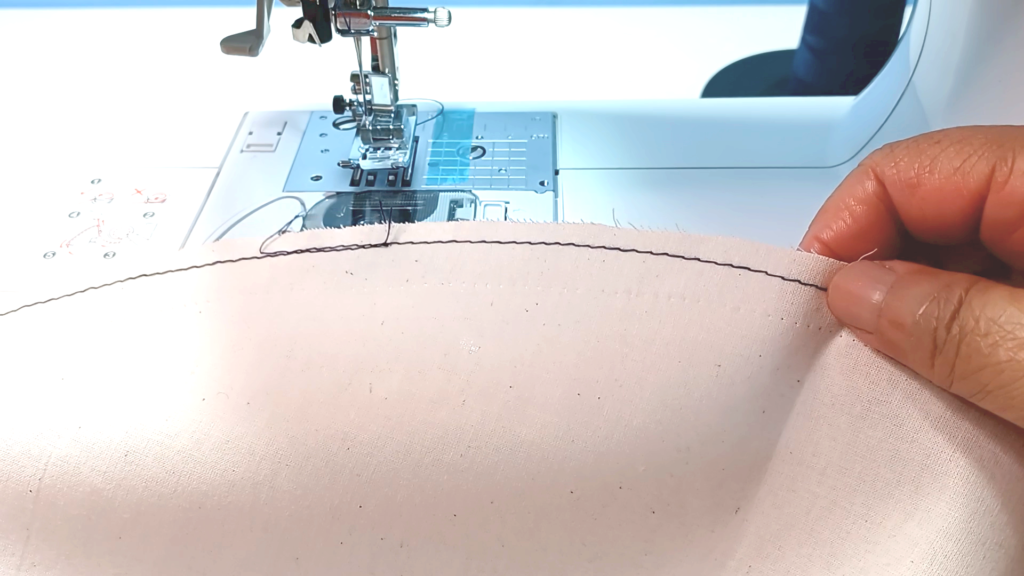
The first step in sewing a narrow hem is to sew a basting stitch around the hem of your flounce. (This basting stitch will serve as a pressing guide in Step 2.)
The formula to determine how far you sew your stitch guide from the edge of your hem is this:
Total Hem Allowance divided by 2.
For example: if your total hem allowance is 1/2″, then your stitch guide is sewn 1/4″ from the edge of your hem.
On my flounce, my total hem allowance is 3/8″, so I’ll sew a stitch guide 3/16″ from the edge of my hem. The only reason I chose 3/8″ is just personal preference. In other words, I like the way it looks.
And because I, of course, have no guide on my machine for sewing 3/16″ away from an edge, I placed an easily removable piece of tape on my machine as a guide.
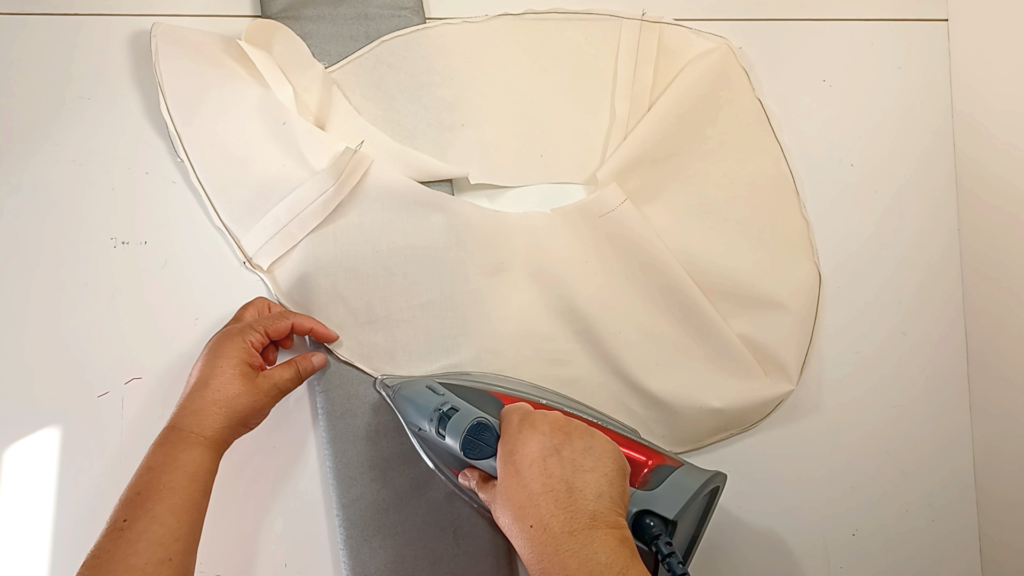
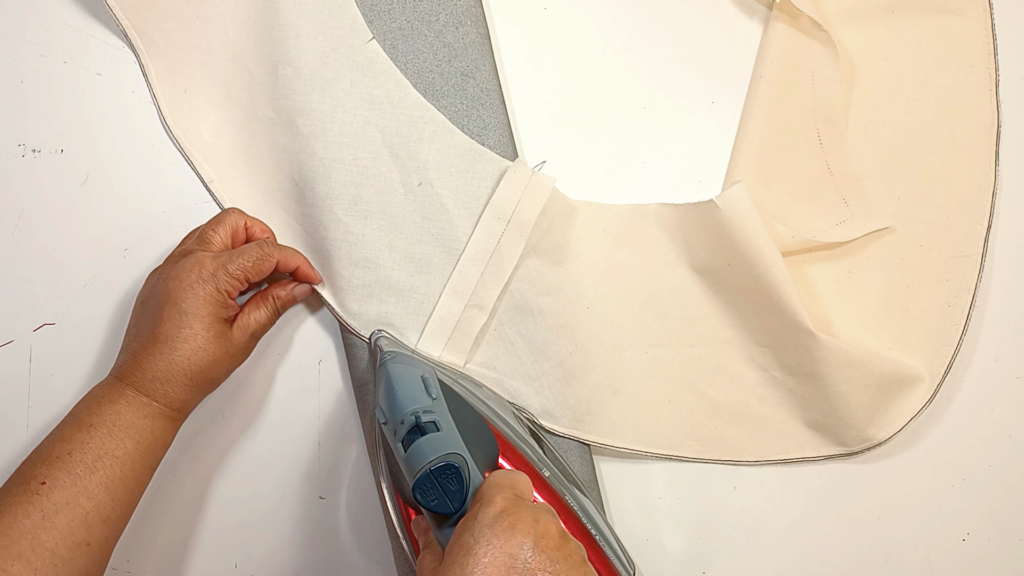
Step 2: Press Hem Allowance Using The Stitch Guide
Now that we have our stitch guide, it’s time to go to the ironing board & press directly on that stitch guide.
Remember, this is one of two times we’ll be turning up the edge of our hem & pressing.
And if you don’t have a tool to protect your fingers, be careful if the fabric you’re using requires steam.
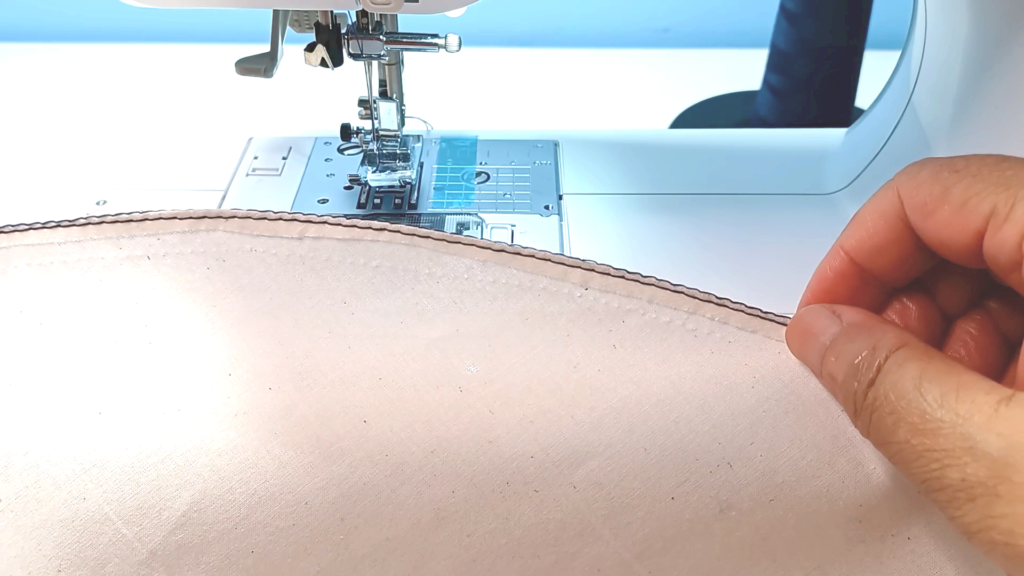
Step 3: Sew The Hem Down
I hope your iron is close by because we’re going to do a lot of “back & forth” from sewing machine to ironing board for this sewing technique.
That’s right, we’re going back to the sewing machine & sewing down the part of the hem we just pressed.
Sew close to your stitch guide, or about 1/16″ away from the folded edge. This is also a basting stitch.
We’re using basting stitches so we can easily take then out at the end because these stitches just aid up in the narrow hemming process.
Step 4: It’s Time To Press, Again
It’s time to turn up your hem again and press.
For example, if your total hem allowance was 1/2″, you’ve already turned & pressed half that amount once. So, in this step, turn & press another 1/4″.
On my flounce, my total hem allowance was 3/8″ & I’ve already turned & pressed half that amount. So, I’m turning & pressing another 3/16″.
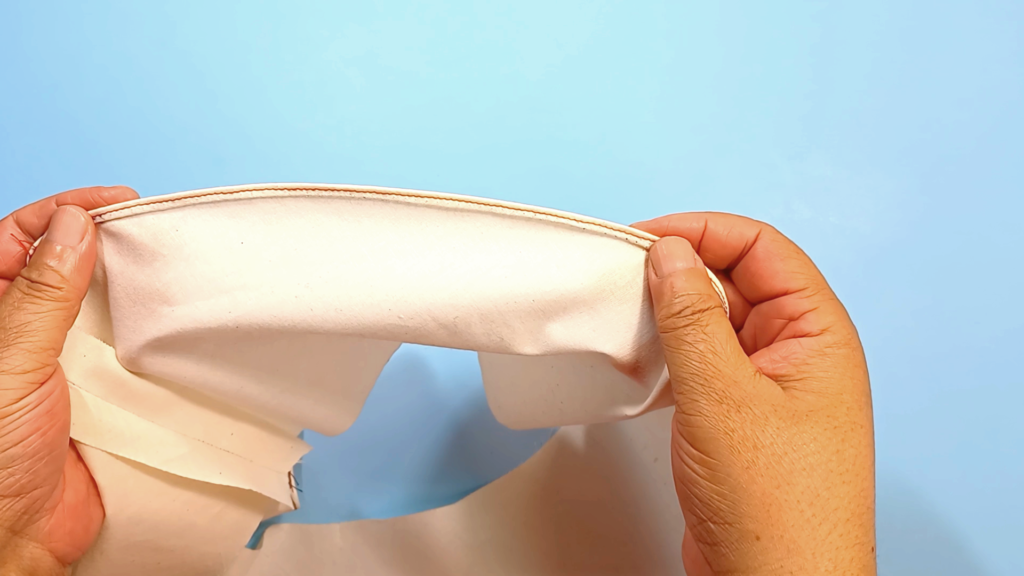
Step 5: Sew Narrow Hem In Place
Okay we’re at the finish line.
And we’re going back to the sewing machine to stitch our hem in place using our regular stitch length. For my machine that’s 2.5, which is about 12 stitches per inch.
In the video (and in the photo below), my final stitching ended up being in the center of my hem, which is NOT what I wanted. If this had been my good fabric & not a sample, I would have ripped it out & sewn closer to the edge of the hem.
Also, here’s what I suggest for the best result with your final stitching:
- Put the machine needle in the fabric where you want your final stitching to be. You’re sewing from the wrong side of the fabric.
- Use easily removable tape as a guide on your machine so your stitching will be straight on the right side of the fabric.
- After sewing for a few inches, make sure your stitching is where you want it to be
- Watch the video above for details.
Types of Fabric Not To Use For Narrow Hemming
- Fabrics that easily unravel. You don’t want your hem falling apart as you’re handling it.
- Hard to press fabrics because of fabric weight, etc. or fabrics that don’t hold a crease.
- Some sheer fabrics, depending on how sheer they are.
- Fabrics with a pile (like velvet) because the pressing can damage the pile.
Give It A Try
Sewing a narrow hem can be a time-consuming process. But it doesn’t all have to be done in one sitting. You can do this in stages if you need to.
Whenever I attempt a time-consuming sewing technique, I ask myself if the end result is worth the process. That’s something only you can determine.
So, have you ever sewn a narrow hem? If not, will you give a try? Let me know in the comments.
This is great! I’ve used this method myself and love that it works very well. And for sheers like silk and organdy, I recently found a marvelous method from a site called Ageberry.com. Here’s the link. I think it’s terrific, very easy and efficient: https://www.ageberry.com/narrow-hem-tutorial/
Thank you.
This was a lovely video. Thank you. I wanted to say that I’ve used a different technique for shear, chiffon types. I sew a narrow zig zag 3 times around the raw edge, one row on top of the other, for the hem. It sounds weird, but it works.
You’re welcome, Gail. And I’ll have to try the narrow zig zag method for sheer fabrics. Thanks for the tip.
Thank you. For this information. I have a knit skirt on which I have to place a narrow hem. I believe I can finally do so now that we have your instructions.
Again My thanks.
You’re welcome, Karene. I wish you the best on your skirt project.